Now Reading: 5 Smart Strategies for Transitioning to a Paperless Digital Lifestyle
-
01
5 Smart Strategies for Transitioning to a Paperless Digital Lifestyle
Remember the last time you frantically searched through stacks of paper for an important document? I’ve been there too. That frustrating experience was what finally pushed me toward transitioning to a paperless digital lifestyle. Not only has this change eliminated those panic-inducing searches, but it’s also transformed how I organize my life, reduced my environmental footprint, and saved me countless hours. In this guide, I’ll walk you through exactly how you can make this life-changing transition too.
Key Takeaways
- Start with a plan: Set specific goals for transitioning to a paperless digital lifestyle and tackle the process in manageable stages.
- Invest in essential tools: You’ll need a reliable scanner, cloud storage solution, and digital organization system.
- Digitize systematically: Begin with current documents, then gradually work through backlogged papers.
- Adopt paperless habits: Switch to e-bills, digital notes, and electronic signatures to prevent new paper accumulation.
- Implement secure backup systems: Protect your digital documents with regular backups and strong security measures.
- Maintain consistency: Develop routines for scanning new documents and organizing digital files to sustain your paperless system.
Creating Your Paperless Transition Plan
Transitioning to a paperless digital lifestyle begins with a solid plan. When I first started my paperless journey, I quickly realized that trying to digitize everything at once was overwhelming. Instead, I developed a phased approach that made the process manageable and sustainable.
Start by identifying your primary paper sources. For most people, these include:
- Mail (bills, statements, correspondence)
- Work documents
- Personal records (medical, financial, legal)
- Notes and lists
- Books and reading materials
Next, set specific, measurable goals for each category. For example, “Digitize all incoming mail within 24 hours” or “Convert all paper bills to e-bills within one month.” These clear targets will help you track your progress and stay motivated.
Create a timeline for your transition. I recommend a 3-6 month period for a complete transition, depending on how much paper you currently handle. Breaking the process into weekly tasks makes it less daunting and more achievable.
Remember that transitioning to a paperless digital lifestyle isn’t about perfection-it’s about progress. You might still need to keep some physical documents for legal reasons, and that’s perfectly fine. The goal is to significantly reduce paper usage, not necessarily eliminate it completely.
Useful Articles:
Essential Tools For Going Paperless
The right tools make transitioning to a paperless digital lifestyle much easier. Based on my experience, here are the essential items you’ll need:
Scanner Options
A good scanner is your primary tool for digitizing existing documents. I recommend considering:
- All-in-one printer/scanners: Affordable and versatile, though typically slower for large scanning jobs.
- Dedicated document scanners: Faster and more efficient for bulk scanning, like the Fujitsu ScanSnap or Epson WorkForce models.
- Portable scanners: Great for scanning on the go or in smaller spaces.
- Smartphone scanning apps: Apps like Adobe Scan or Microsoft Office Lens can turn your phone into a scanner for occasional use.
When selecting a scanner, consider features like automatic document feeders, duplex scanning (both sides at once), and OCR (Optical Character Recognition) capabilities, which make your scanned documents searchable.
Cloud Storage Solutions
Secure cloud storage is essential for accessing your documents from anywhere. Popular options include:
- Google Drive: Offers 15GB free storage and excellent integration with other Google services.
- Dropbox: User-friendly with good sharing features.
- Microsoft OneDrive: Integrates well with Windows and Office.
- iCloud: Seamless for Apple users.
I personally use a combination of Google Drive for everyday documents and Dropbox for business files, giving me redundancy and flexibility.
Document Management Systems
To effectively organize your digital documents, consider these options:
- Evernote: Excellent for organizing documents, notes, and web clippings with powerful search capabilities.
- Microsoft OneNote: Great for note-taking and document organization.
- Notion: Highly customizable for complex organization systems.
- Dedicated document management software: Solutions like FileCenter or DocuWare offer advanced features for business needs.
When I first started transitioning to a paperless digital lifestyle, I tried several systems before settling on Evernote for its combination of simplicity and powerful search features. Don’t be afraid to experiment until you find what works best for your needs.
Systematic Digitization Process
With your tools in place, it’s time to start the actual digitization process. Here’s the systematic approach I’ve found most effective:
Starting With Current Documents
Begin with managing new incoming paper rather than tackling your backlog. This prevents your paper pile from growing while you work on existing documents.
- Create a processing station: Designate a specific area with your scanner and a temporary filing system for incoming papers.
- Establish a daily scanning routine: Spend 10-15 minutes each day scanning new documents.
- Develop a consistent naming convention: I use a format of “YYYY-MM-DD_DocumentType_Description” (e.g., “2025-05-09_Invoice_HomeInsurance”).
- Implement an organizational structure: Create logical folders for different document categories.
Pro tip: Process mail immediately when it arrives. Scan important items, recycle junk mail, and shred sensitive documents right away.
Tackling Backlogged Papers
Once you have a system for new documents, start working through existing papers:
- Sort before scanning: Divide papers into categories like “Essential” (legal documents, contracts), “Reference” (manuals, statements), and “Disposable” (old newsletters, flyers).
- Start with high-value documents: Begin with important papers you access frequently.
- Set regular digitizing sessions: Schedule specific times for batch scanning. I found that 30-60 minute sessions were most productive.
- Track your progress: Maintain a simple checklist of categories completed to stay motivated.
When I tackled my backlog, I dedicated two hours every weekend to scanning. Within three months, I had digitized years of accumulated paper. The key is consistency rather than marathon sessions that lead to burnout.
Handling Special Document Types
Some documents require special consideration:
- Legal documents: Some may need original copies. Scan them for reference but store originals in a secure location.
- Photos: Use a scanner with higher resolution settings or consider professional scanning services for valuable photos.
- Oversized documents: For items that won’t fit in your scanner, use panoramic photo features on smartphone scanning apps.
- Books and magazines: Consider e-book versions when available rather than scanning entire books.
Useful Articles:
Adopting Paperless Habits
Successfully transitioning to a paperless digital lifestyle requires changing daily habits to prevent new paper accumulation. Here are the key practices I’ve adopted:
Digital Bills and Statements
Contact all service providers to switch to electronic statements and bills. Most companies offer this option through their websites or customer service. I created a checklist including:
- Utilities (electricity, water, gas)
- Financial institutions (bank statements, credit cards, investment accounts)
- Insurance providers
- Subscription services
- Telecommunications (phone, internet, cable)
After switching, I saw an immediate 70% reduction in my incoming mail. Most providers also offer automatic payment options, which further streamlines financial management.
Digital Note-Taking Systems
Replace paper notes with digital alternatives:
- Mobile apps: Evernote, Google Keep, or Apple Notes for on-the-go note-taking.
- Tablet with stylus: For those who prefer handwriting, tablets with styluses provide a paper-like experience while creating digital files.
- Voice notes: Use voice assistants or recording apps for quick notes when typing isn’t convenient.
I personally transitioned from multiple notebooks to a tablet with a stylus for meeting notes and a note-taking app for quick thoughts and lists. This change not only eliminated paper but made my notes searchable and accessible across all my devices.
Electronic Signatures and Forms
Adopt tools for handling documents that traditionally required printing and signing:
- E-signature services: DocuSign, Adobe Sign, or HelloSign allow you to sign documents electronically.
- PDF editors: Apps like Adobe Acrobat or PDFElement enable you to fill out forms digitally.
- Form creation tools: Google Forms or Microsoft Forms can replace paper forms for gathering information.
When I implemented e-signatures in my workflow, I eliminated approximately 90% of my printing needs. Most organizations now accept electronic signatures, making this transition relatively smooth.
Digital Reading Habits
For books, magazines, and other reading materials:
- E-readers: Devices like Kindle or Kobo provide a paper-like reading experience.
- E-books and digital subscriptions: Most publications offer digital versions.
- Library apps: Many public libraries offer free e-book borrowing through apps like Libby or OverDrive.
I’ve found that transitioning to digital reading not only saves paper but allows me to carry my entire library wherever I go. The ability to adjust text size and lighting has actually improved my reading experience.
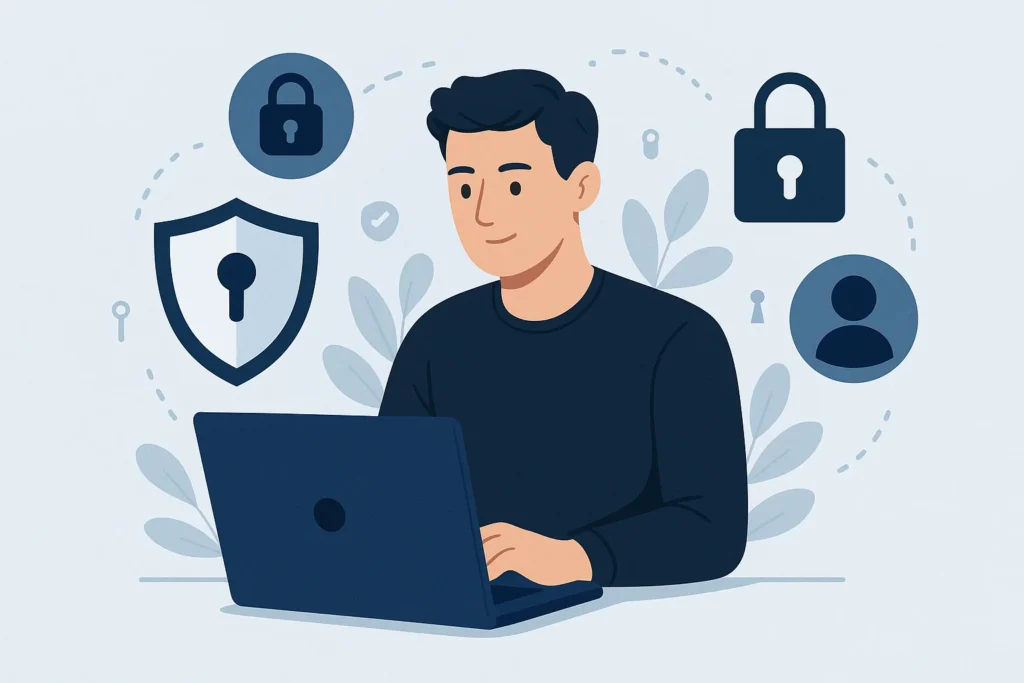
Securing Your Digital Documents
Security becomes paramount when transitioning to a paperless digital lifestyle. Here’s how I protect my digital information:
Backup Systems
Implement a comprehensive backup strategy:
- 3-2-1 backup rule: Maintain three copies of important data, on two different media types, with one copy stored off-site.
- Automated cloud backup: Services like Backblaze or IDrive can automatically back up your entire computer.
- External hard drives: Use these for local backups, ideally stored in a fireproof location.
- Regular verification: Periodically check that your backups are working by restoring test files.
After losing some digital documents early in my paperless journey, I now use both cloud storage and an external hard drive that backs up automatically each night. This redundancy gives me peace of mind that my digital documents are safe.
Privacy and Security Measures
Protect your digital documents with these security practices:
- Strong, unique passwords: Use a password manager like LastPass or 1Password to create and store complex passwords.
- Two-factor authentication: Enable this wherever available for an extra layer of security.
- Encryption: Consider encrypting sensitive documents before storing them in the cloud.
- Secure Wi-Fi: Use strong passwords and WPA3 encryption on your home network.
- Regular updates: Keep all devices and software updated to protect against security vulnerabilities.
I also recommend reviewing the privacy policies of any cloud service you use to understand how your data is protected and who might have access to it.
Transitioning to a paperless digital lifestyle has transformed how I manage information, boosted my productivity, and reduced my environmental impact. With the right tools, systematic approach, and consistent habits, you too can break free from paper clutter and embrace the efficiency of digital organization. The journey may take time, but the benefits of a paperless life are well worth the effort.
Useful Articles: